
One Room Challenge: Weeks Four & Five
Welcome back! Yes, I’m recapping two weeks in one because that’s how it sometimes goes. Remember how every other member of my family was sick in week three? Well, in week four, it finally came for me, and I spent most of the week laid up in bed. Not a lot of progress to report on there. Once I was back on track, I picked up where I left off at the end of week three, preparing to strip the door back to its natural state- or so I thought. After experimenting with the heat gun (not a fan of the tool at all, btw- I’ll stick with my trusty Citristrip thankyouverymuch), I discovered that unlike nearly every other door in our home, that is made of solid wood, this one is particle board. Whoops. It looks like I’ll be hauling out the paint sprayer instead and matching the interior of the door to the color we just had the beadboard painted and the outside to the hall.

Plot twist- not solid wood
We’ve also got nearly everything we need to get up on the walls placed- just in time to take it all backdown and apply the Roman Clay that just arrived. It might sound a little backward to put everything up to take it back down, but for the sake of not needing to repair the finish by putting any holes in the wrong place or accidentally dinging it, we’re doing it twice.
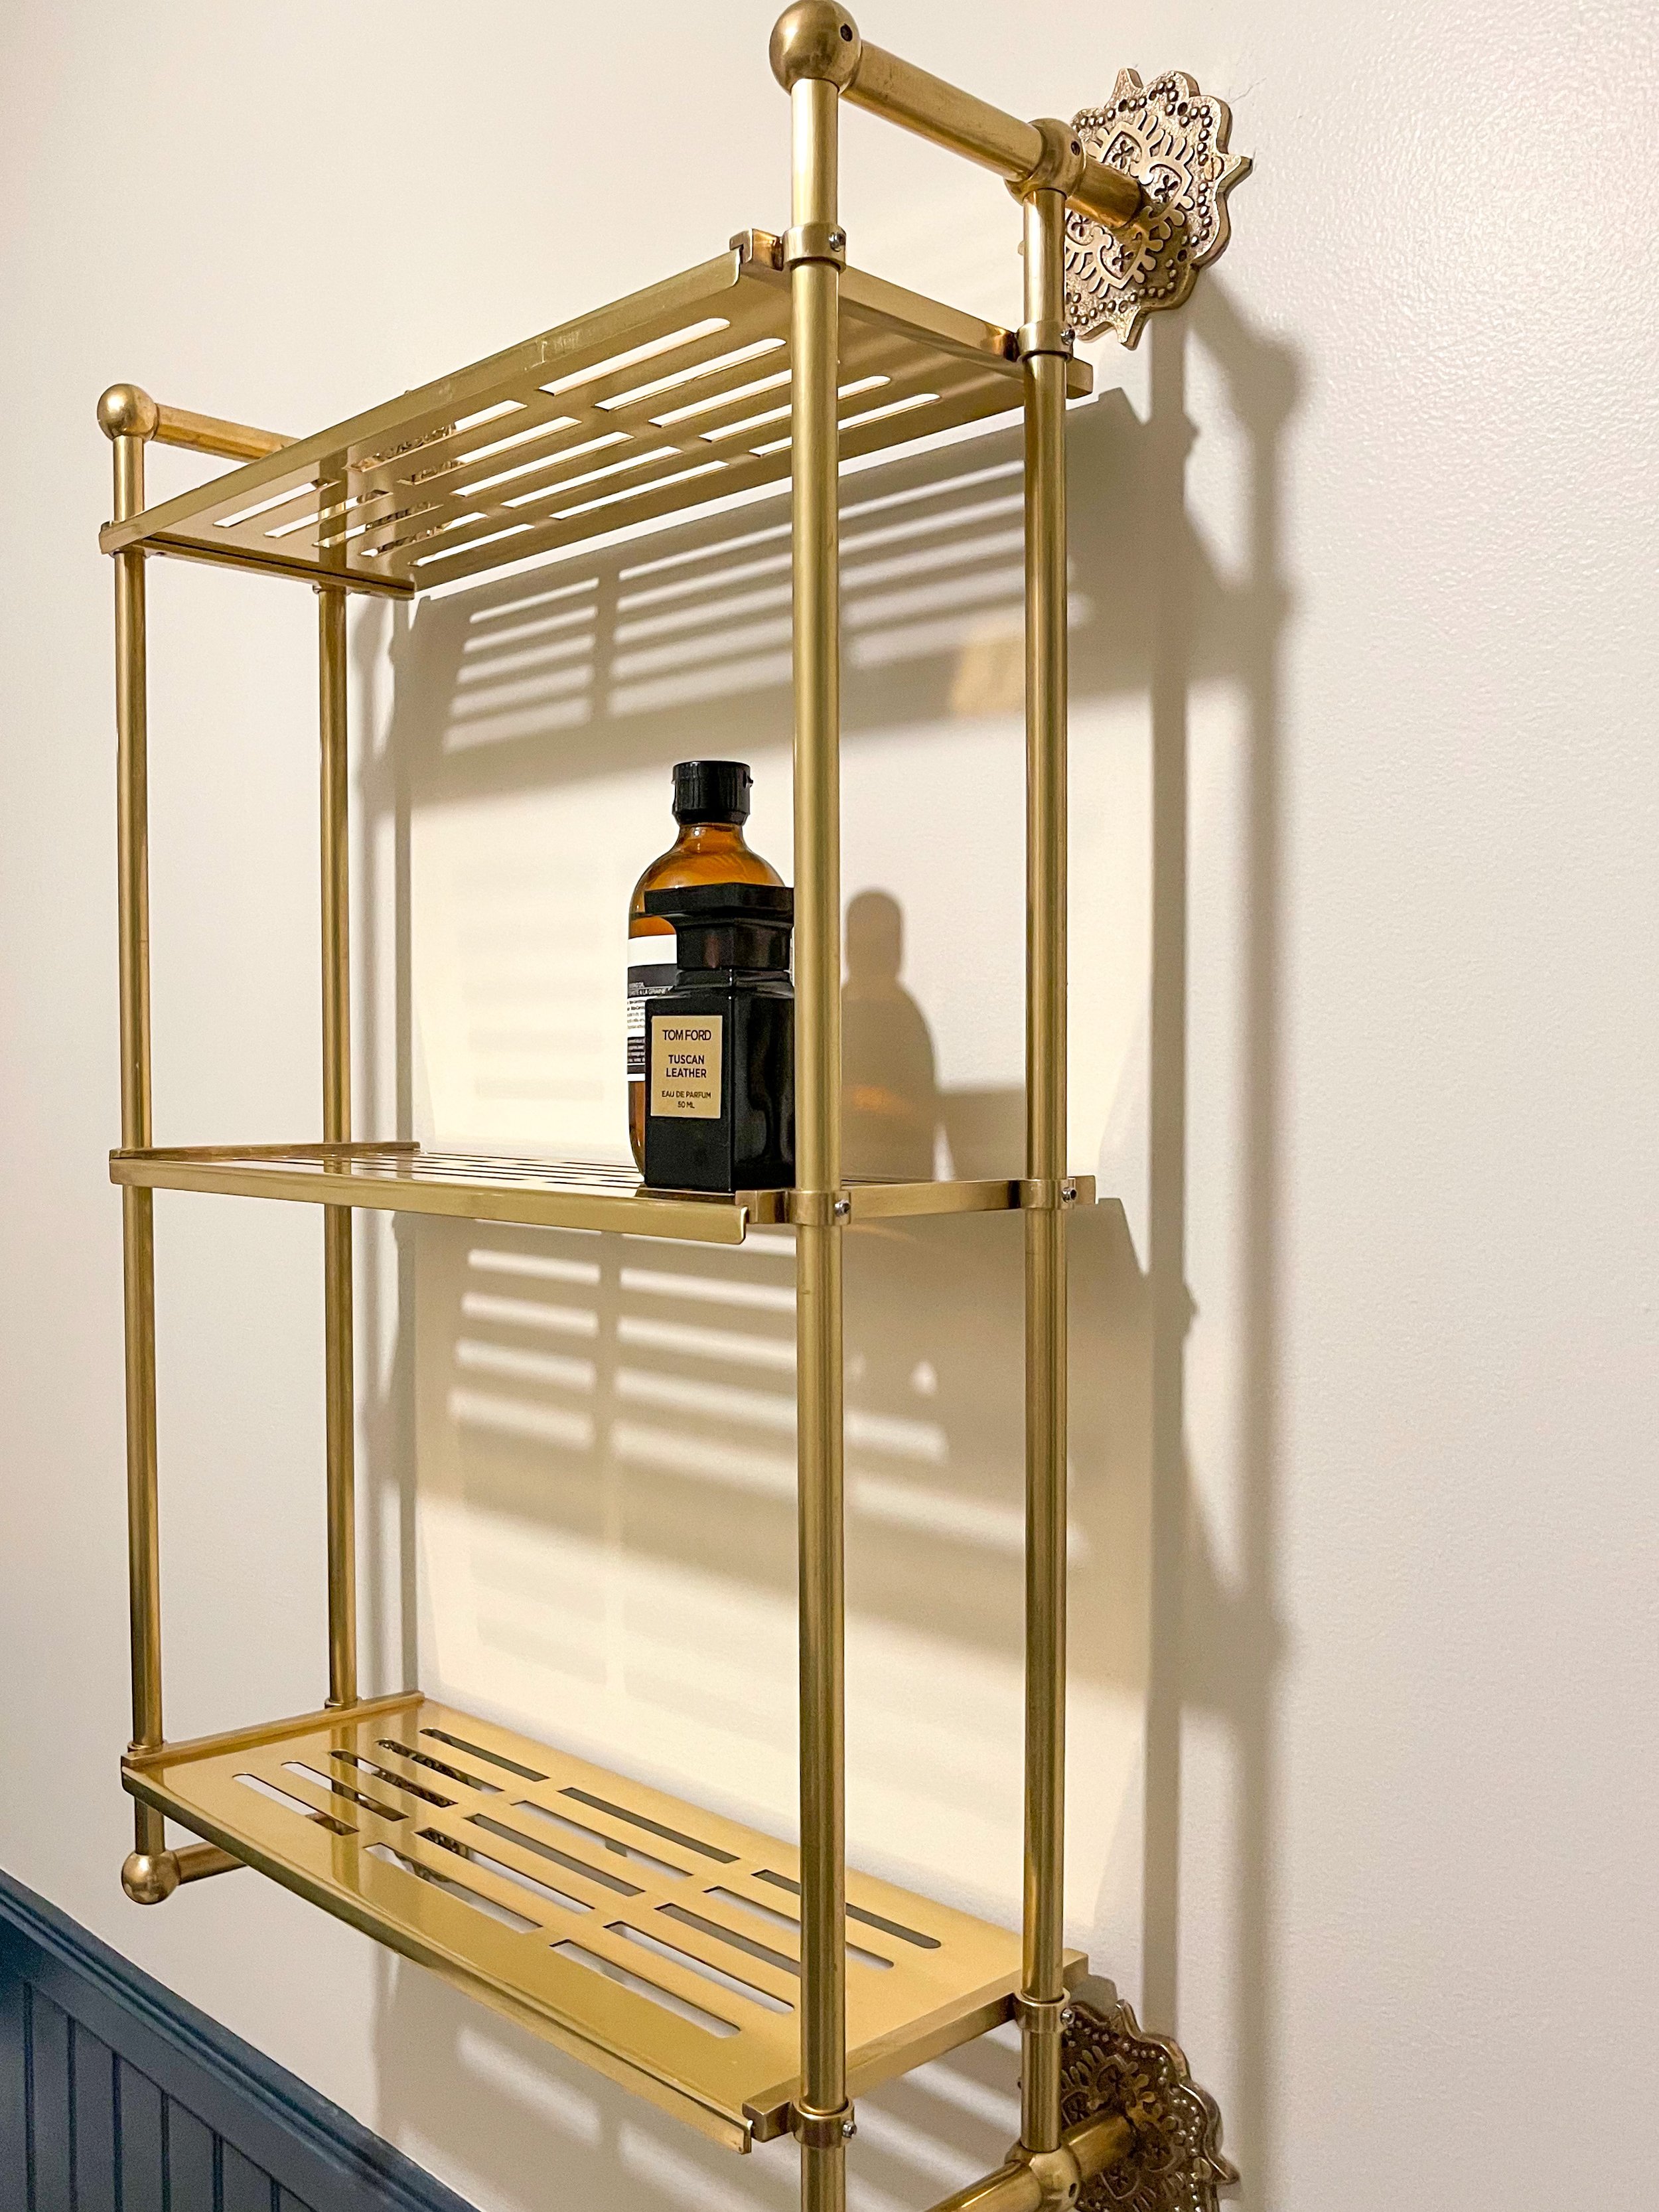
The wall shelf to be mounted above the toilet is here, and I love how it balances out the wall, sitting between the medicine cabinet and the wall art, and it creates a bit of additional storage, which is a major win.
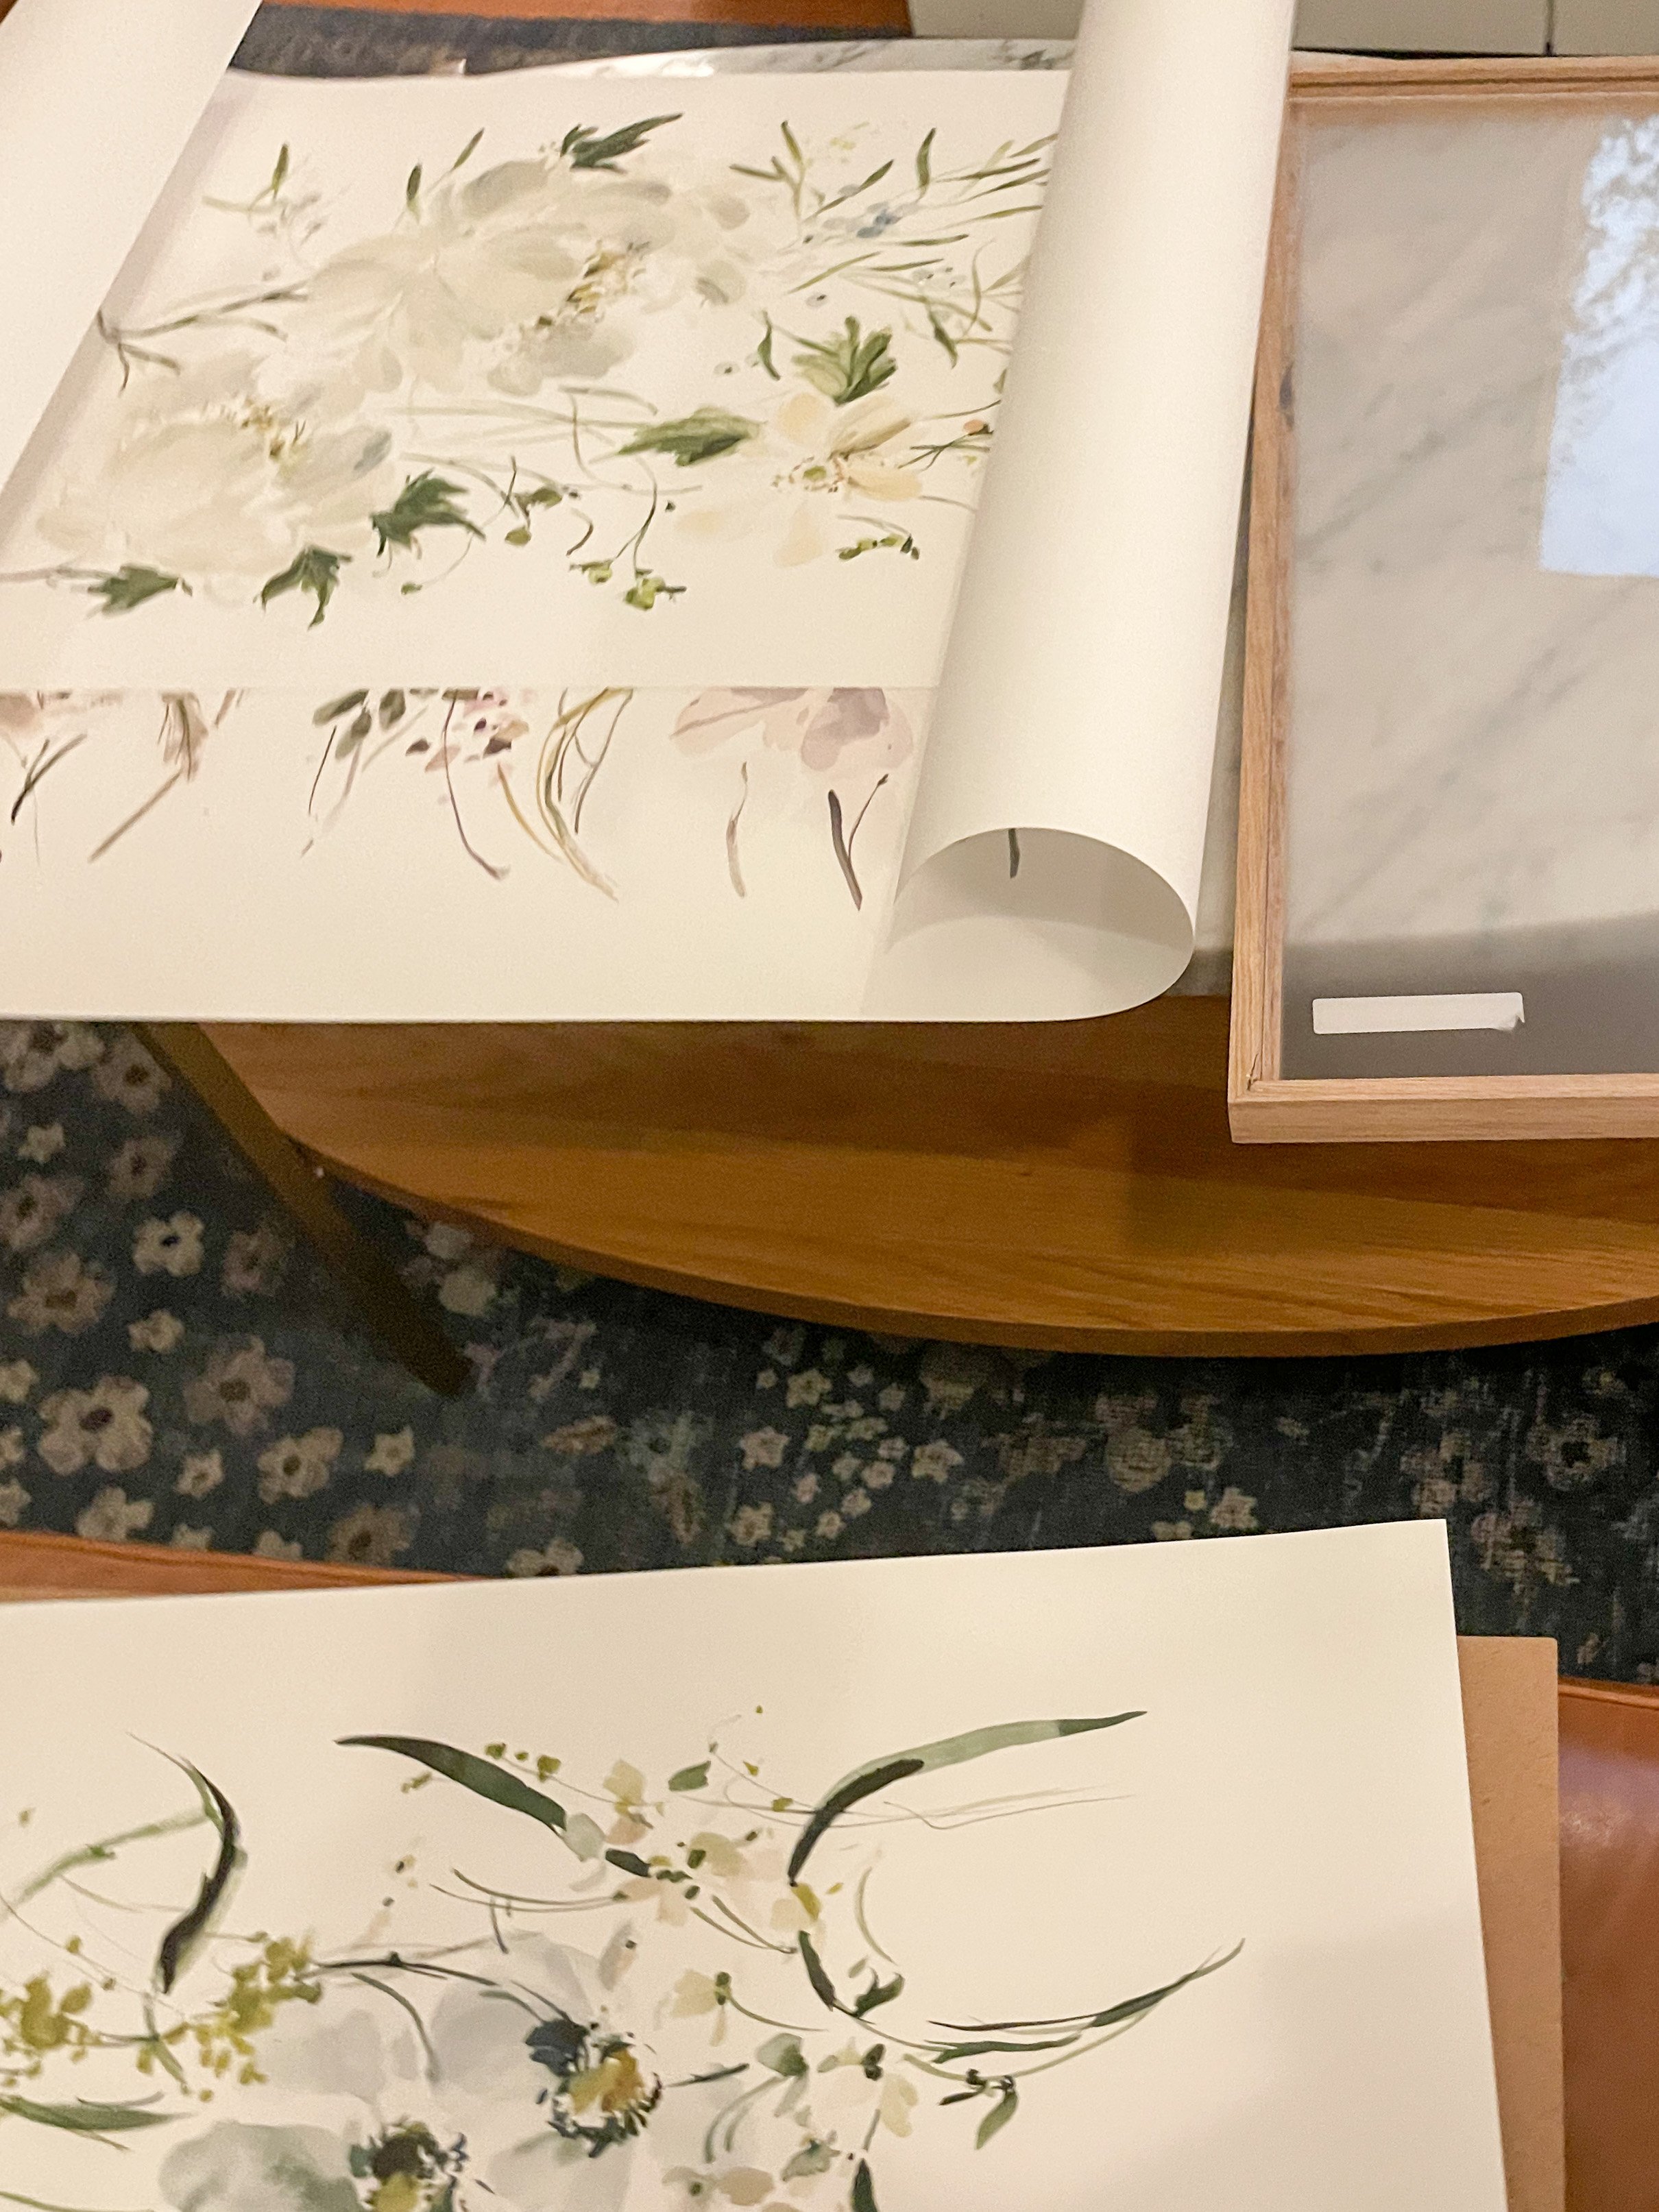
Unpacking the artwork and frames
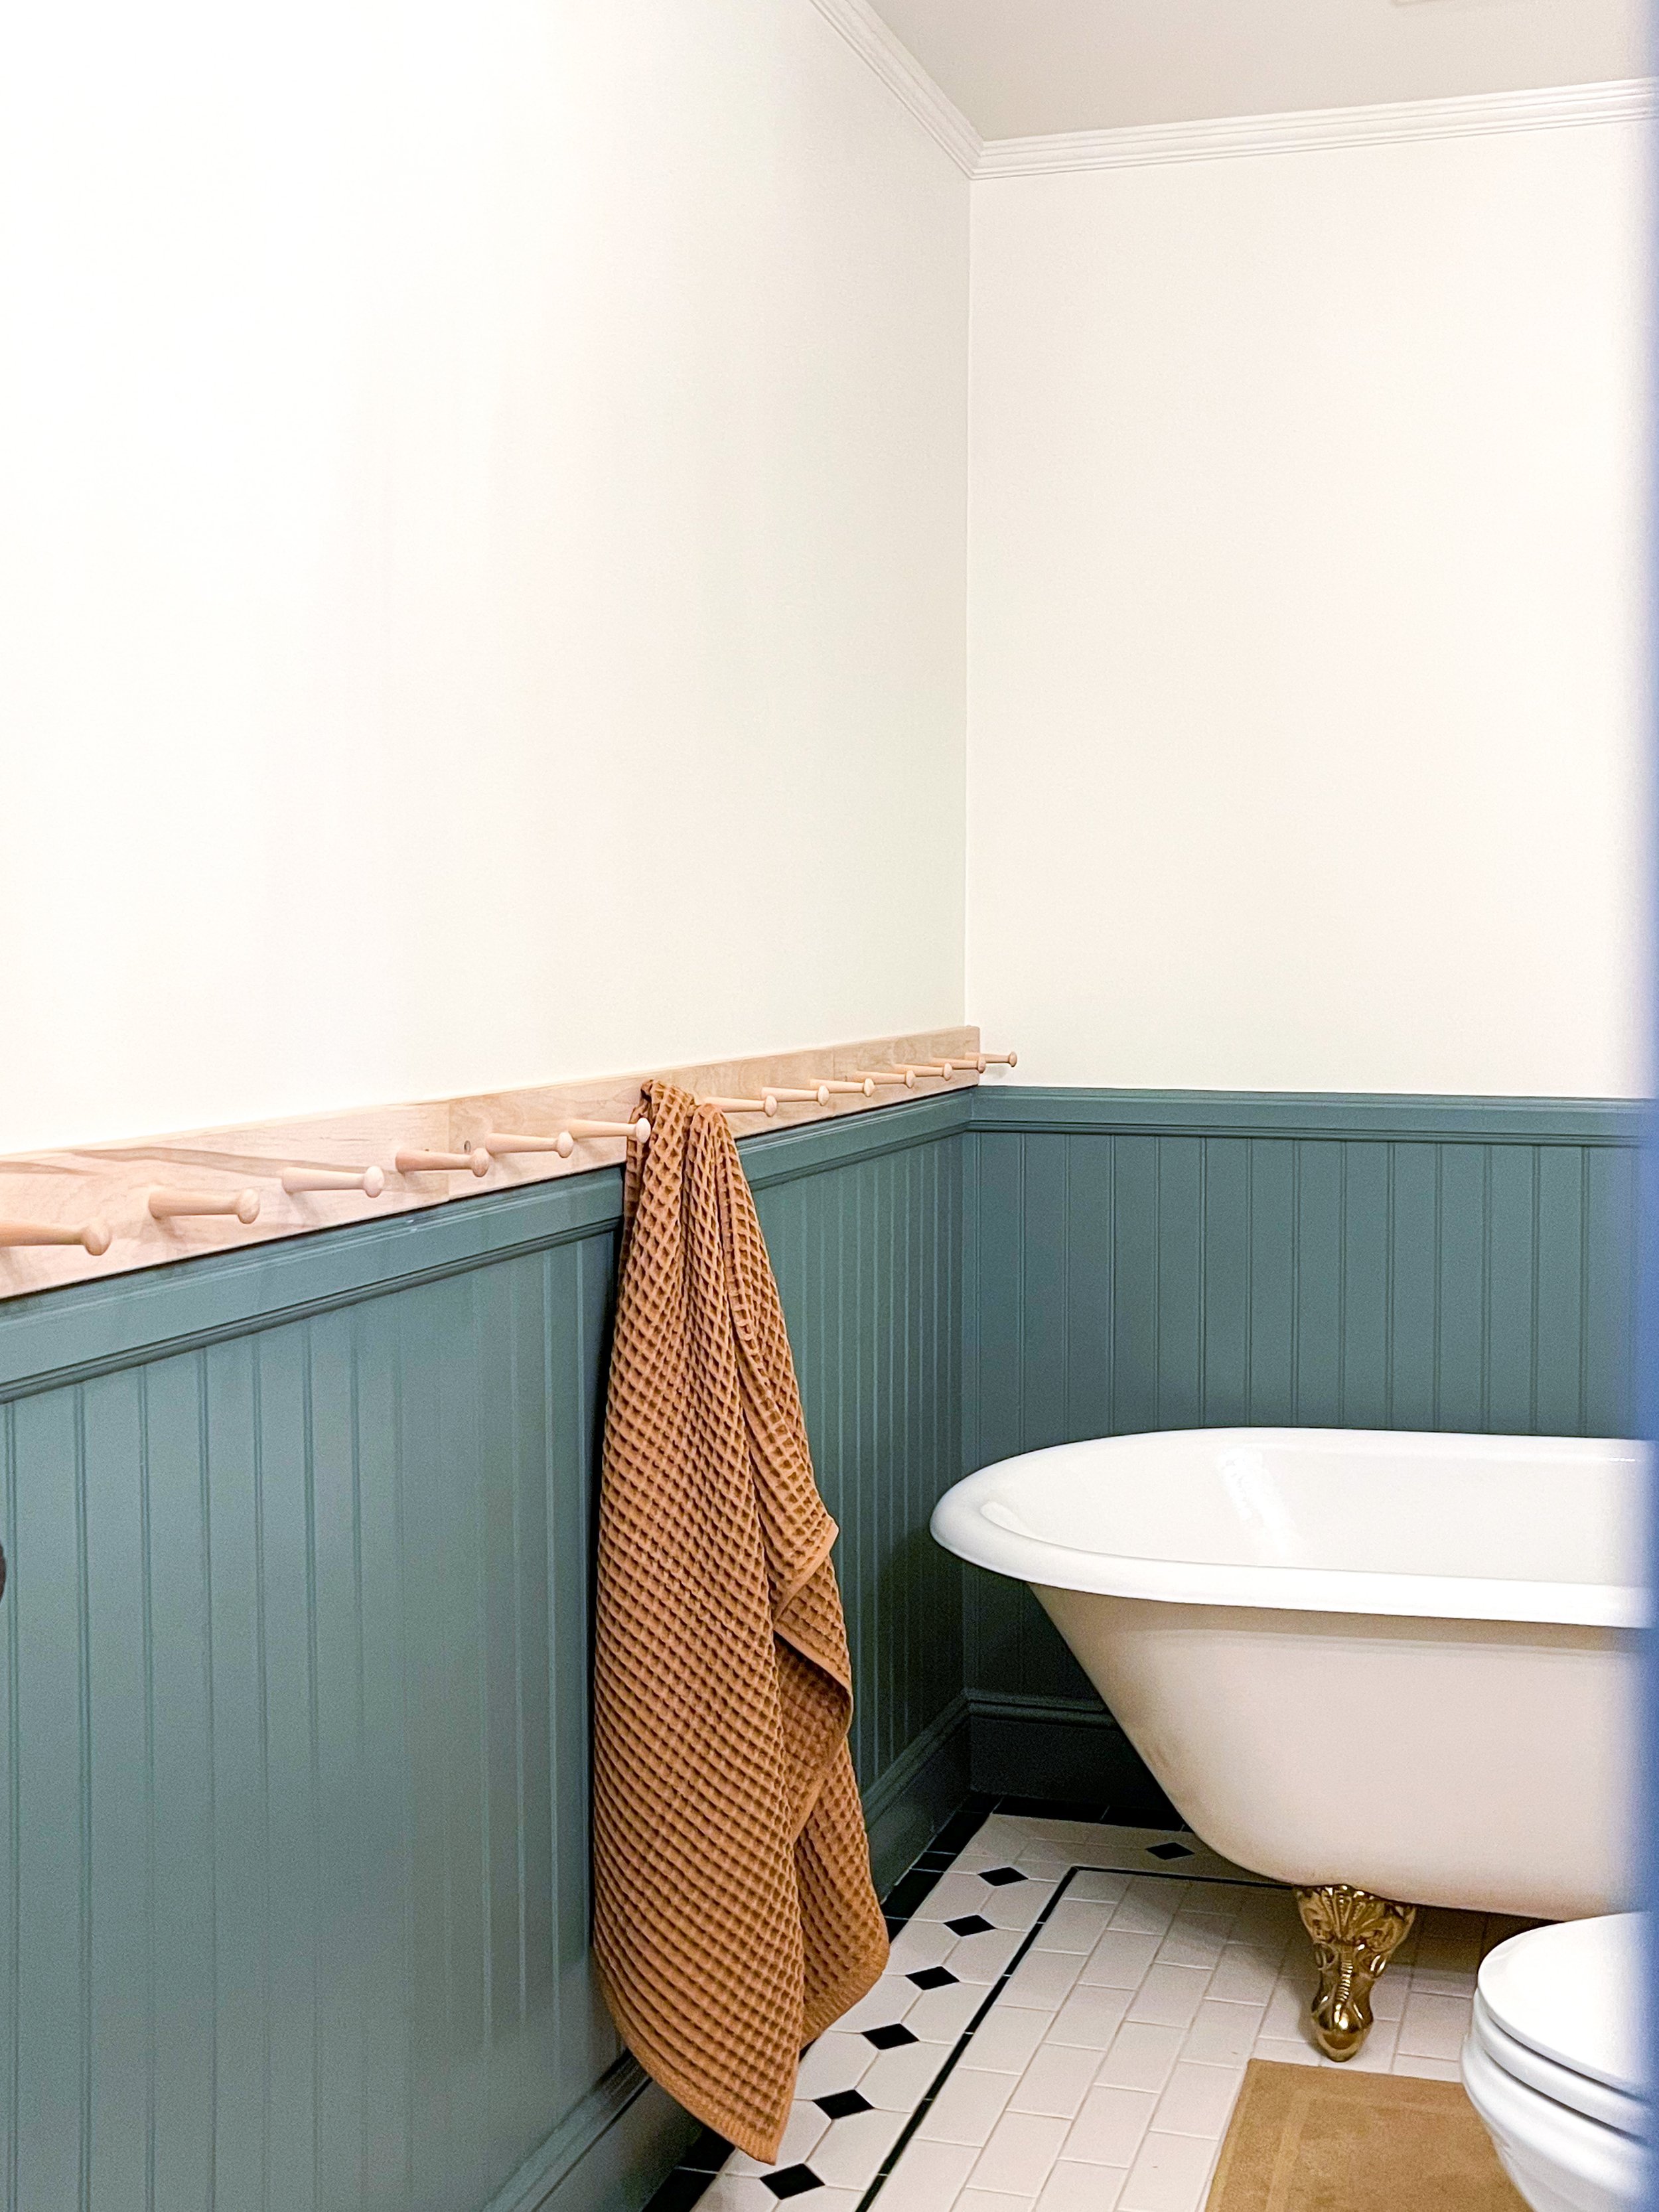
The prints from Juniper Print shop have arrived, and I’ve framed them up in these oversized affordable frames I ordered off of Amazon. And finally, we got the peg rail(s) trimmed and in place. It’s actually four of these Container Store racks that I had initially planned to trim and paint, but I fell in love with the wood grain, so I’m keeping them all natural with just a coat of clear, matte, Polyurethane to keep them protected.
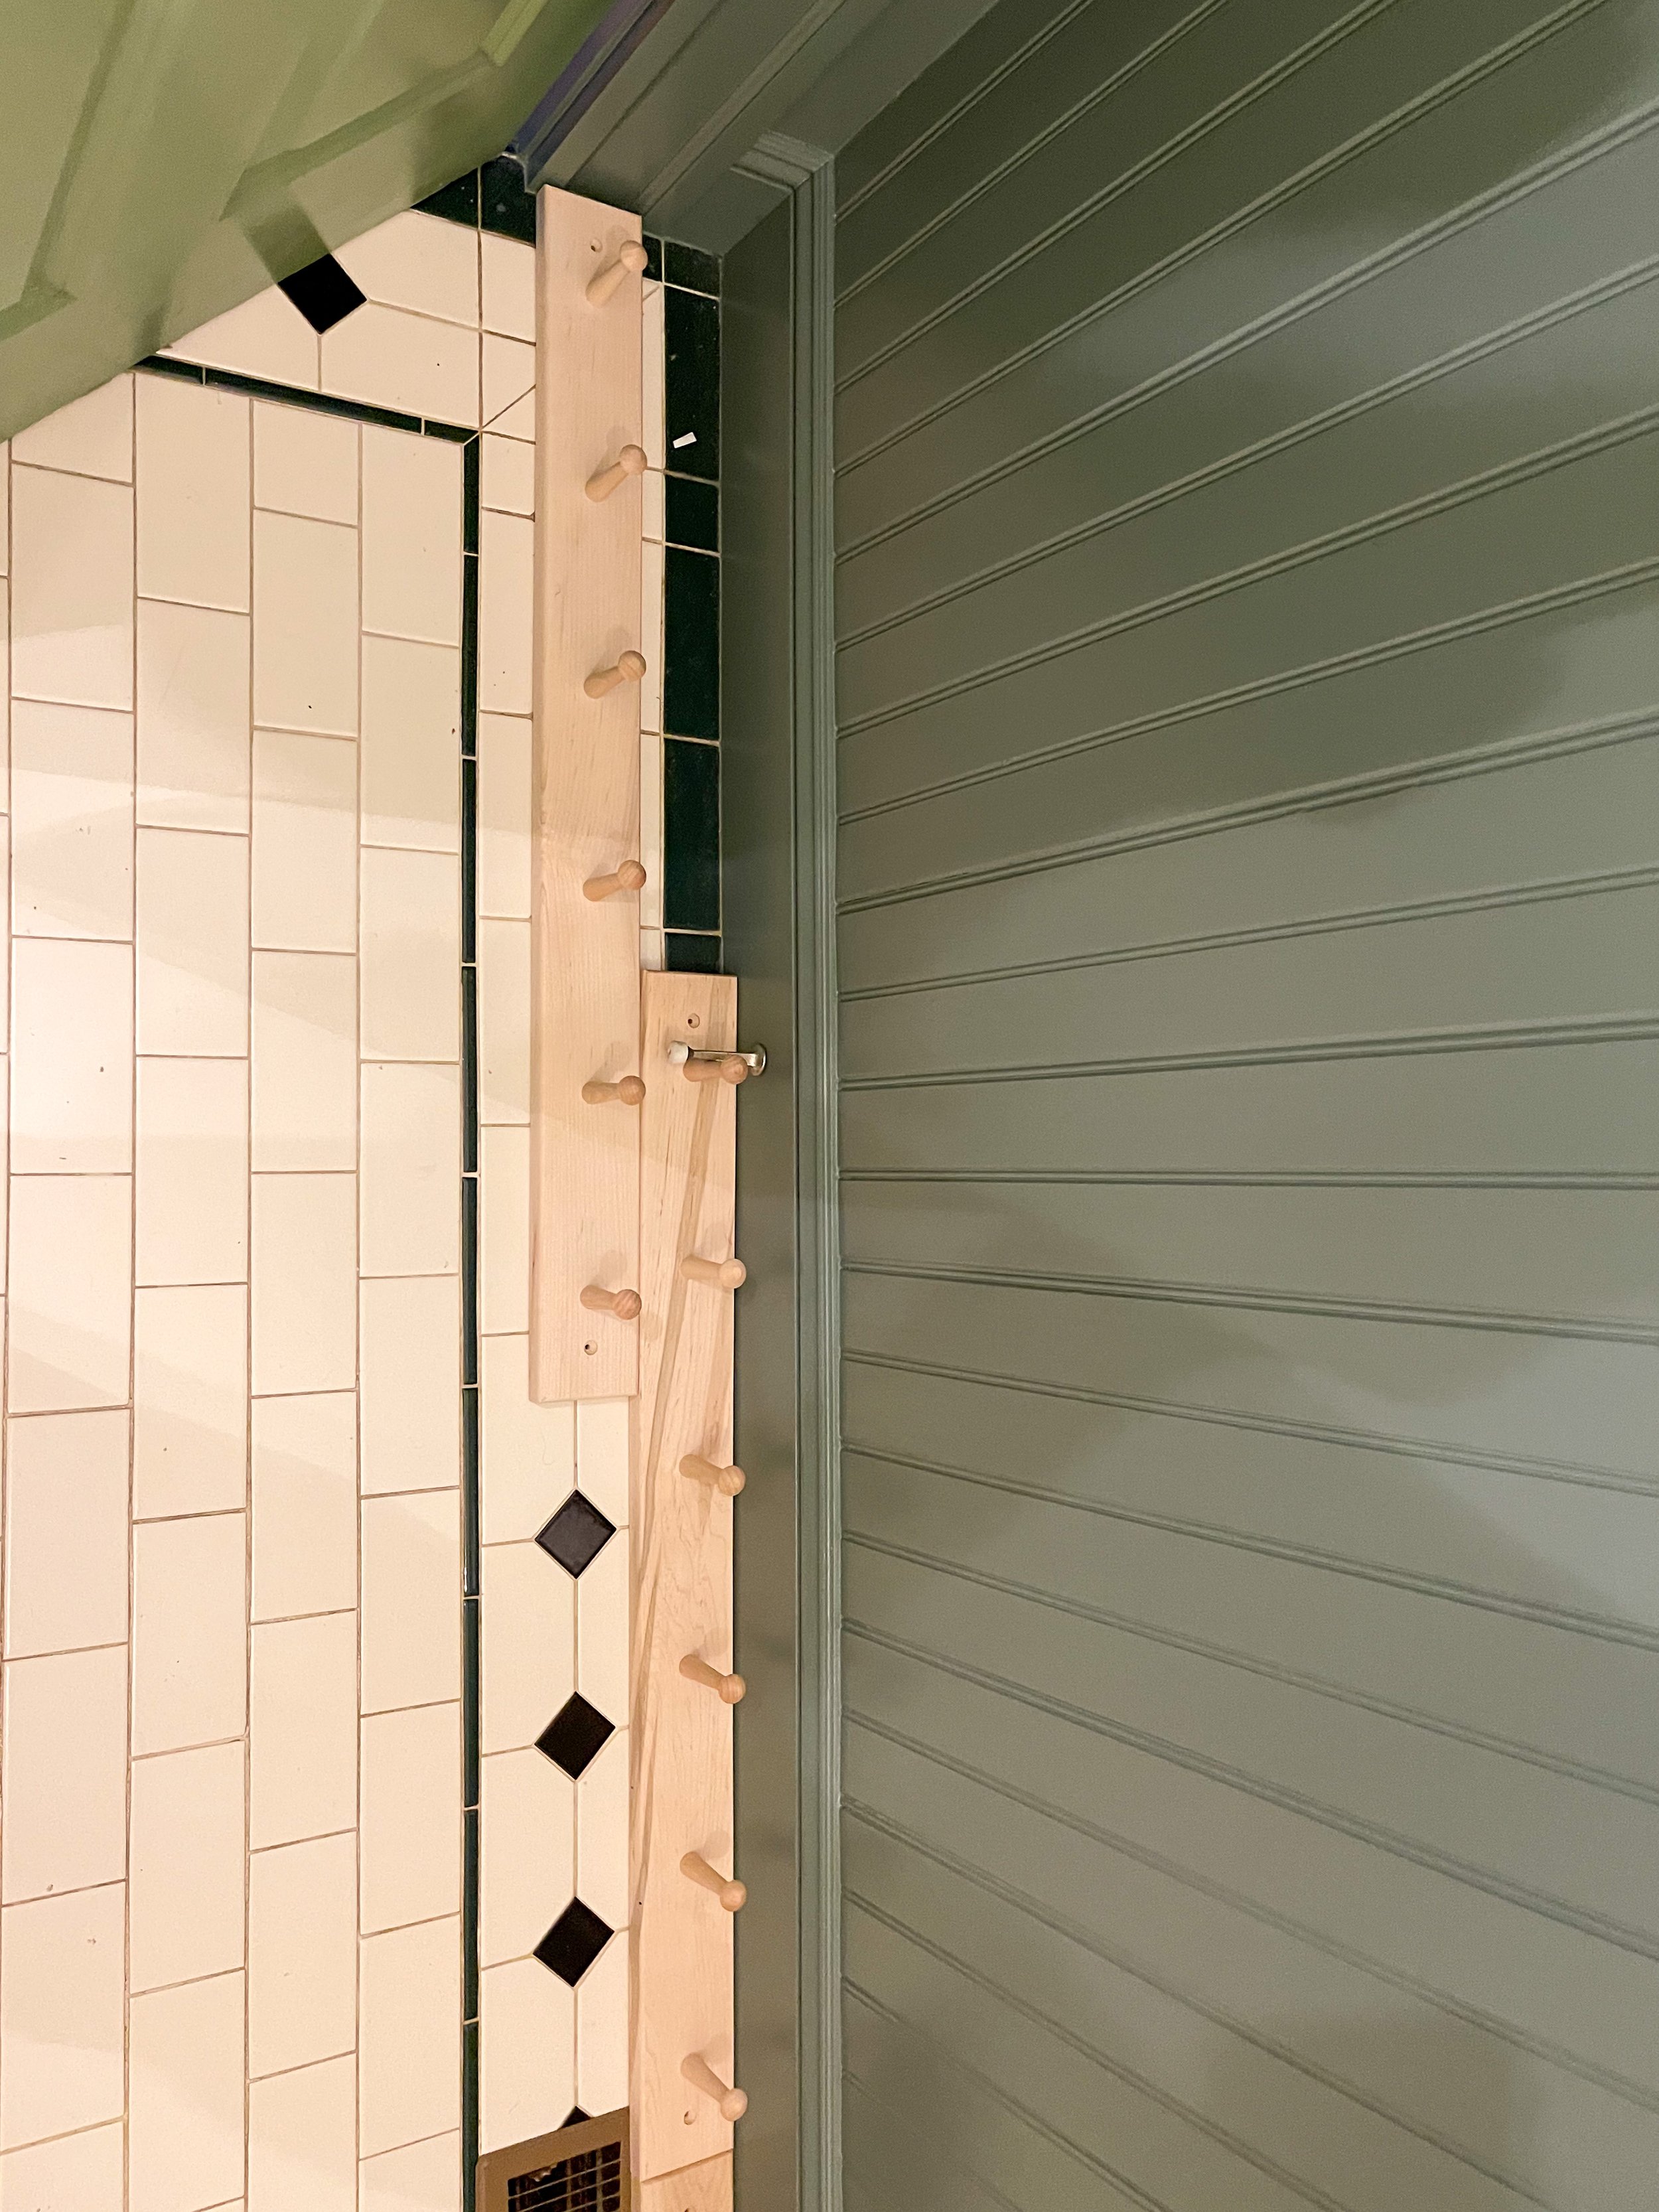
Laying out the peg rail
We laid the racks out on the floor and arranged them in the order that looked most natural, paying attention to the wood grain and the tone of the wood so there wouldn’t be any jarring transitions and keeping in mind that the ends would be trimmed off. Once we were satisfied, I numbered the pieces on the back, labeled the ends “A” and “B,” and included an arrow for which side went up. We mounted the two full center pieces first, and when it came time to do the two end boards, we flipped them upsidedown to mark where the cut would be, then flipped them back to mount so that we would be sure to make sure and trim the right end. It might sound confusing on paper, but if you ever try this for yourself, come back to this, and it’ll make a lot more sense.

Marking out where to trim
That’s all for this week. Next week we’ll be applying the Roman Clay and hopefully will have everything back up on the walls by the end! Now go check out all the other amazing One Room Challenge spaces! Then give me a follow on Instagram if you want to be sure to catch my daily updates.
